7.7 KiB
+++ title = 'Creating a new site' show_toc = true weight = 10 +++
The first step to get started is to install Hugo and Silicate then create a blank website!
Let's be honest: this will be the most boring part of the guides: it's the most technical one and is mostly settings things up.
You will have to use the terminal a bit, but it's easy, you'll see!
Creating a workspace and getting Hugo
On your computer, create a folder where you'll work on your Hugo websites.
For the rest of the guide, it will be named hugo_workspace/.
Then you need to get Hugo itself. Hugo is a single executable file, it requires no installation, only that you download it.
Hugo has its own guide on how to install it, but this tutorial will give you a simpler version.
Go to the Hugo release page. Unfold the "Assets" section. From it, you can download Hugo based on your OS :
- Linux: download the
hugo_extended_X.XXX.X_linux-64bit.tar.gzfile - Mac: download the
hugo_extended_X.XXX.X_darwin-universal.tar.gzfile - Windows: download the
hugo_extended_X.XXX.X_windows-amd64.zipfile
Once downloaded, extract the hugo executable (hugo.exe for Windows) from the archive into hugo_workspace/
Now you'll need a terminal, also known as "shell", "command line" or "CLI" -- basically a text window to send instructions to your computer:
- Linux: It varies from OS to OS, but you should be able to open one by searching "Terminal" in your applications
- MacOS: Click on the Launchpad icon then search and click on "Terminal"
- You can also navigate to
/Applications/Utilitiesand double click onTerminal
- You can also navigate to
- Windows: Click on the Windows icon then search and click on "Command Prompt"
Regardless of you OS, you should have a window open that you can type commands into then press enter to run them.
First, we need to tell the terminal we want to run commands from the hugo_workspace/ directory.
Get the complete (also known as absolute) path of your hugo_workspace/ folder.
You can do that by navigating inside this folder with your file explorer then clicking
on the path shown on the top then copying it.
Then, in the terminal, type the following, replacing <path to hugo workspace> with the one you just copied:
- Linux & Mac & Windows: Type
cd <path to hugo workspace>then press entercdstands for "Change Directory"!
Now, to see if everything is working, you can type ./hugo version (hugo.exe version for Windows) then press enter.
If everything is OK, you should see a line like this :
hugo v0.147.2-[...] VendorInfo=gohugoio
Creating a site
With the terminal open in the hugo_workspace/ folder, run the command :
- Linux & Mac:
./hugo new site my_webcomic - Windows:
hugo.exe new site my_webcomic
If everything went right, hugo should show you something similar to this:
Congratulations! Your new Hugo site was created in /.../hugo_workspace/my_webcomic.

Just a few more steps...

1. Change the current directory to /.../hugo_workspace/my_webcomic.
2. Create or install a theme:
   - Create a new theme with the command "hugo new theme <THEMENAME>"
   - Or, install a theme from https://themes.gohugo.io/
3. Edit hugo.toml, setting the "theme" property to the theme name.
4. Create new content with the command "hugo new content <SECTIONNAME>/<FILENAME>.<FORMAT>".
5. Start the embedded web server with the command "hugo server --buildDrafts".

See documentation at https://gohugo.io/.
Hugo just created a new my_webcomic/ folder inside hugo_workspace/. That's where Hugo will
look for everything it needs to create your website!
Inside hugo_workspace/my_webcomic/, you should now have the following folders and files:
archetypes/assets/content/data/i18n/layouts/resources/static/themes/hugo.toml
You don't need to worry about each and every one of them, they will be explained when -- and only if -- nedeed.
Like Hugo said in its output, you can change the directory to this new one in the Terminal :
- Linux & Mac & Windows: Type
cd my_webcomicthen press the enter key.
Move the hugo / hugo.exe executable directly into the my_webcomic/ folder using
your file explorer.
It will make things simpler.
Installing the Silicate theme
The first thing we need is a theme -- Hugo doesn't know how to create your website without one.
All themes go into the themes/ folder of a Hugo website.
First, download the Silicate theme, then extract it into my_webcomic/themes/.
{{< warning >}} Downloads will be available when version 1 of Silicate is ready. {{< /warning >}}
Now, you should have a my_webcomic/themes/silicate folder, but Hugo doesn't
know that it should use that theme. You can let it know by changing your
website configuration.
Most of a Hugo website configuration is in the hugo.toml file.
It's a simple text file using the TOML format. Right now, it should look like this:
baseURL = 'https://example.org/'
languageCode = 'en-us'
title = 'My New Hugo Site'
We'll look at hugo.toml and how to fully use it later. For now, just add theme = 'silicate'
at the end of the file.
Be careful about the ' around "silicate", they are necessary!
And with that done, your website is set up to use Silicate! Now, you only need to do one final check.
Starting your site
With the terminal opened in my_website/, type ./hugo server (hugo.exe server on Windows) then press the enter key.
Hugo should say something close to this :
Watching for changes in /<...>/hugo_workspace/my_webcomic/{archetypes,assets,content,data,i18n,layouts,static,themes}
Watching for config changes in /<...>/hugo_workspace/my_webcomic/hugo.toml, /<...>/hugo_workspace/my_webcomic/themes/silicate/hugo.toml
Start building sites …
hugo v0.147.2-c7feb15d10b29a94d7fb57c31e8bcb2e92718fb7+extended linux/amd64 BuildDate=2025-05-06T11:18:55Z VendorInfo=gohugoio


                   | EN
-------------------+-----
  Pages            |  7
  Paginator pages  |  0
  Non-page files   |  0
  Static files     |  1
  Processed images |  0
  Aliases          |  0
  Cleaned          |  0

Built in 48 ms
Environment: "development"
Serving pages from disk
Running in Fast Render Mode. For full rebuilds on change: hugo server --disableFastRender
Web Server is available at http://localhost:1313/ (bind address 127.0.0.1)
Press Ctrl+C to stop
Hugo actually did two separate things :
- It created your entire website and put it into the
my_webcomic/public/folder - It is now running a small web server so you can browse this website
Keep the terminal open! If you close it, then the web server will close too.
Open your web browser and go to the URL Hugo gave you in the
Web Server is available at XXX line (for this example, http://localhost:1313).
You should see the following page :
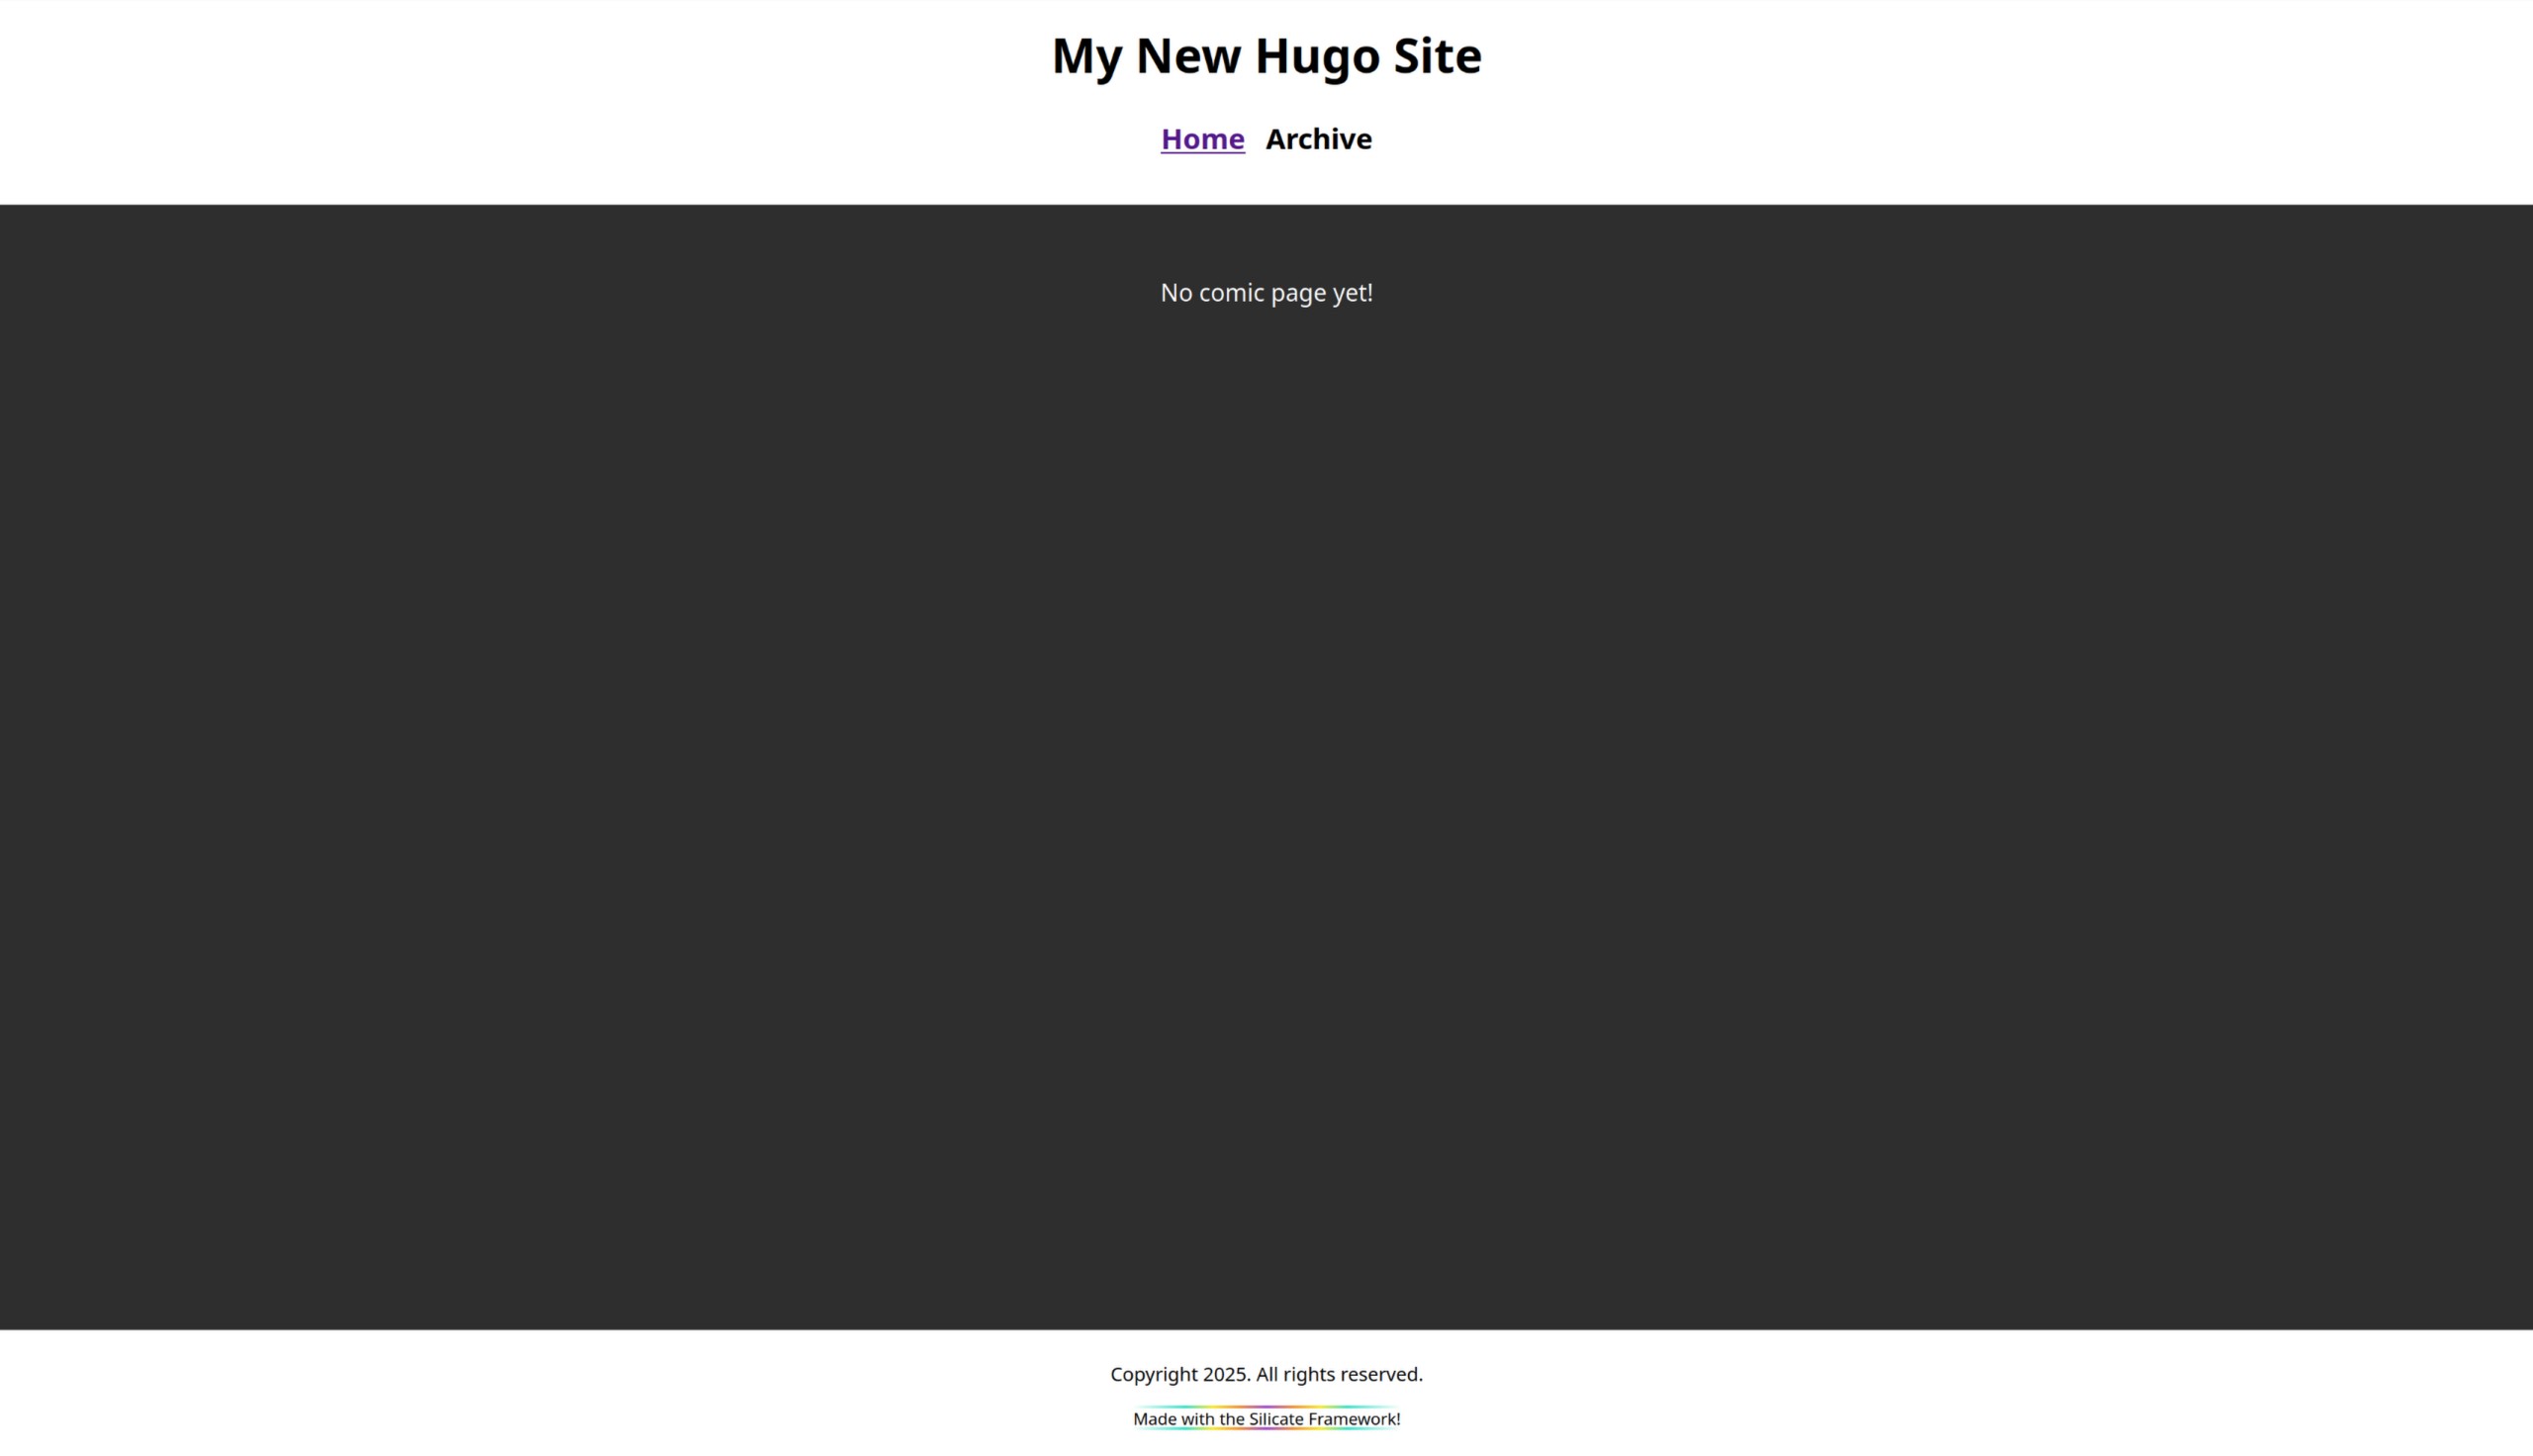
If you do, then you are done, the new site is created!
Just so you know, only you can acess your website for now!:
localhost/127.0.0.1is a special internet address, it's your own computer- By saying
(bind address 127.0.0.1), Hugo means "Only let 127.0.0.1 -- that is this computer -- access the website".
- By saying
:1313(or the other number Hugo gave you) is a port number. If multiple servers runs at once, they would each have a different port.- To put it simply: if your computer was a street, then this port would be an street number.
You can stop this server at any time by pressing Ctrl+C in the terminal or by closing the terminal window.